Planning meals ahead can make busy weekdays much easier. Instead of deciding what to cook every day, you can prepare a few meals in advance and have convenient options ready when you need them. It can also make grocery shopping and kitchen time more organized.
If you are looking for simple ideas to make your weekly routine easier, you are in the right place. This guide features 12 easy healthy meal prep for the week recipes made with simple ingredients and practical cooking methods. You will find filling bowls, quick breakfast ideas, fresh salads, and other make-ahead meals that can add variety to your week.
From choosing your meals to preparing and storing them, this guide will walk you through the process so meal prep feels simple rather than overwhelming.
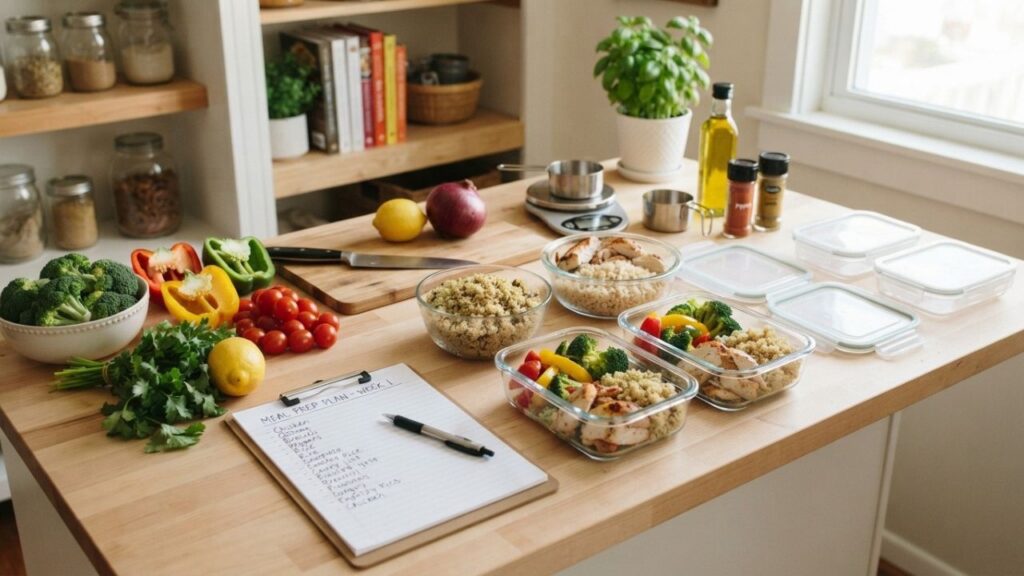
How to Plan Your Meals for the Week
Planning ahead makes weekly meal prep easier and more organized. Decide how many breakfasts, lunches, and dinners you need before cooking. Check your pantry and refrigerator first, then create a simple grocery list for missing ingredients. This helps save time, reduce waste, and keep your weekly meals organized.
Choose Well-Storage Recipes
Select meals that maintain their flavor and texture after refrigeration. Rice bowls, soups, cooked vegetables, pasta salads, and overnight oats can be practical choices.
Make a Simple Grocery List
Write down all the ingredients you need before shopping. Group similar items together, such as vegetables, proteins, grains, dairy products, and pantry ingredients.
Prepare Ingredients in Batches
Cook ingredients that can be used in several meals at the same time. For example, you can prepare chicken, rice, quinoa, and roasted vegetables together and combine them in different ways.
Portion Your Meals
Divide prepared food into individual containers according to your planned servings. This makes your meals easier to grab during busy weekdays and keeps your refrigerator organized.
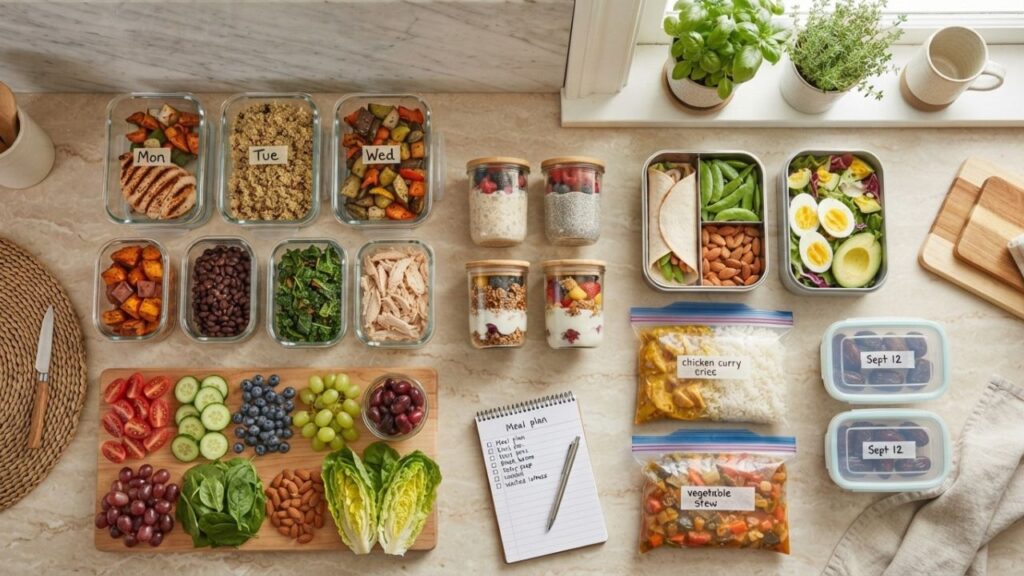
Meal Prep Approaches Compared
| Meal Prep Approach | Best For | Preparation Time | Storage Convenience | Main Benefit |
| Full Meal Prep | Busy weekdays | Medium–High | High | Complete meals are ready to eat |
| Ingredient Prep | Flexible meals | Medium | High | Mix ingredients into different meals |
| Batch Cooking | Families or multiple servings | High | High | Cook once and enjoy several portions |
| Breakfast Prep | Busy mornings | Low–Medium | High | Quick breakfast options |
| Lunch Prep | Work or school days | Medium | High | Easy grab-and-go lunches |
| Freezer Prep | Longer-term planning | Medium–High | Very High | Meals can be stored for later |
| No-Cook Prep | Quick meals | Low | Medium | Minimal cooking and cleanup |
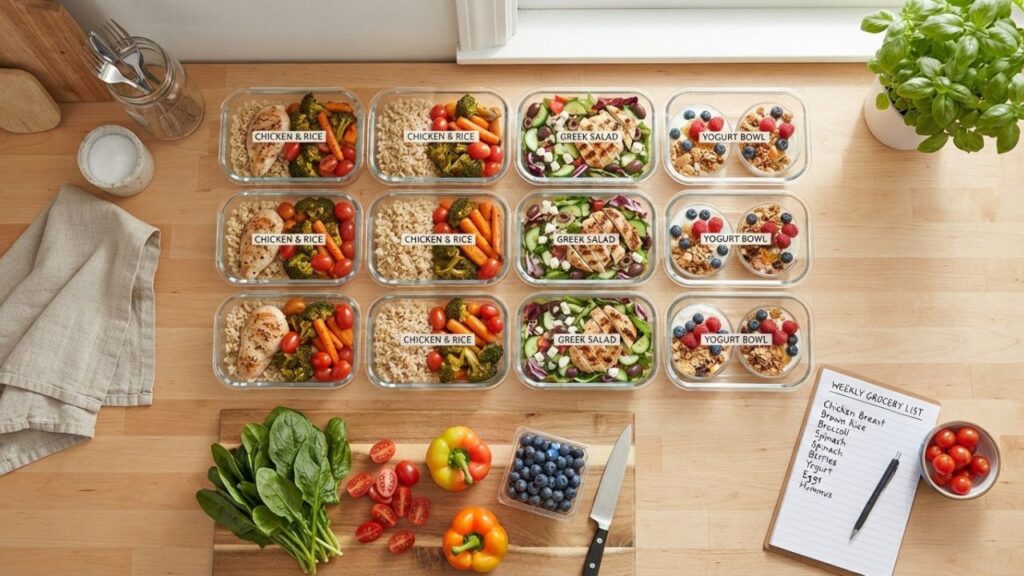
Benefits of Preparing Meals for the Week
Weekly meal preparation offers several practical benefits for busy households. It can save cooking time, simplify grocery shopping, reduce food waste, and make weekday meals easier to manage. Preparing meals ahead also helps keep your refrigerator organized and gives you convenient options when you have little time to cook.
- Saves time: Preparing several meals together can reduce daily cooking time.
- Makes planning easier: You know what meals are available throughout the week.
- Reduces food waste: Planning portions can help you buy and use ingredients more efficiently.
- Adds variety: Preparing different recipes can prevent meals from becoming repetitive.
- Makes busy days simpler: Ready-to-eat meals can be convenient when you have limited time to cook.
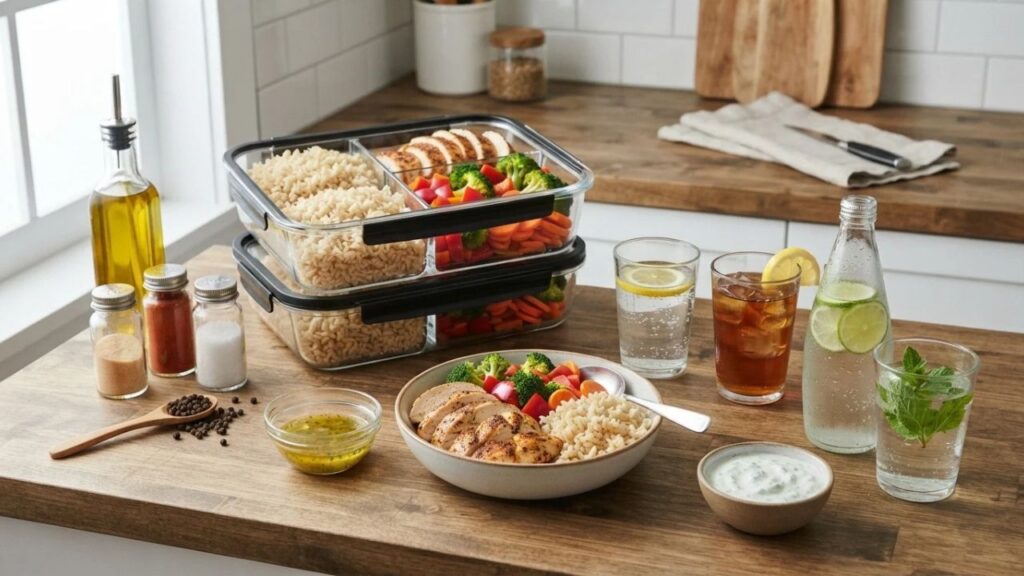
Meal 1. Chicken and Brown Rice Bowls
Chicken and brown rice bowls are a simple and filling meal for lunch or dinner. Tender seasoned chicken is paired with brown rice, broccoli, bell pepper, and carrots to create a colorful meal that is easy to prepare in batches for the week.
Want to learn how to marinate chicken before cooking? Check out Allrecipes, a USA-based recipe website, and read 12 Easy Chicken Marinades for Simple Summer Grilling for simple chicken marinade ideas and tips.
Ingredients
- 1 lb boneless, skinless chicken breast
- 2 cups cooked brown rice
- 1 cup broccoli florets
- 1 red bell pepper, sliced
- 1 small carrot, sliced
- 1 tablespoon olive oil
- 1 teaspoon garlic powder
- 1 teaspoon paprika
- 1/2 teaspoon salt
- 1/4 teaspoon black pepper
Step-by-Step Instructions
1. Prepare the chicken
Wash and pat the chicken dry with paper towels. Cut it into small, even-sized pieces so it cooks evenly.
2. Season the chicken
Place the chicken pieces in a bowl. Add garlic powder, paprika, salt, and black pepper. Mix well until all the chicken pieces are coated with the seasonings.
3. Cook the chicken
Heat the olive oil in a large skillet over medium heat. Add the seasoned chicken pieces in a single layer. Cook, stirring occasionally, until the chicken is fully cooked and lightly browned.
4. Prepare the vegetables
While the chicken is cooking, wash the broccoli, bell pepper, and carrot. Cut the bell pepper into strips and the carrot into thin slices. Steam or sauté the vegetables until they are tender but still slightly crisp.
5. Prepare the rice
Cook the brown rice according to the package instructions. Once cooked, fluff it gently with a fork and set it aside.
6. Assemble the bowls
Divide the cooked brown rice evenly between four meal-prep containers. Add the cooked chicken, broccoli, bell pepper, and carrot to each container.
7. Cool and store
Allow the prepared food to cool appropriately before covering the containers. Refrigerate promptly and keep them properly chilled until ready to eat.
Serving Ideas
Serve the chicken and brown rice bowl with a light yogurt sauce, lemon-herb dressing, or a small amount of your favorite sauce.
For drinks, you can serve it with:
- Fresh lemon water
- Unsweetened iced tea
- Sparkling water with lime
- Mint-infused water
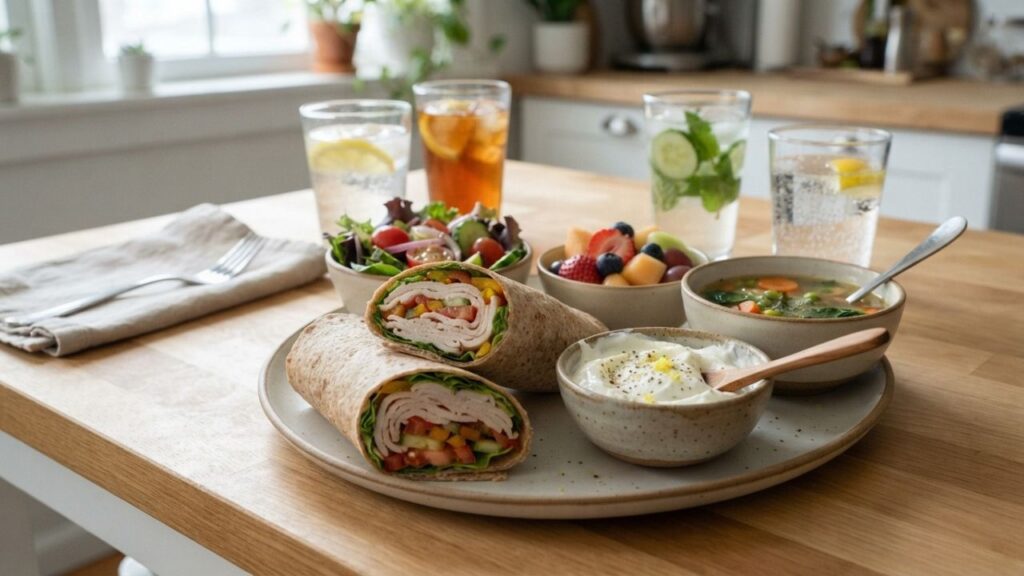
Meal 2. Turkey and Vegetable Wraps
Turkey and vegetable wraps are a fresh and convenient option for lunch or a light dinner. Sliced turkey is combined with crisp vegetables and a creamy Greek yogurt spread, then wrapped in whole-grain tortillas. They are easy to prepare ahead and portion for busy weekdays.
Ingredients
- 4 whole-grain tortillas
- 8 oz sliced turkey
- 1 cup lettuce, chopped
- 1 medium tomato, thinly sliced
- 1/2 cucumber, thinly sliced
- 1/2 bell pepper, thinly sliced
- 1/4 cup plain Greek yogurt
- 1 teaspoon lemon juice
- 1/4 teaspoon garlic powder
- 1/4 teaspoon black pepper
Step-by-Step Instructions
1. Prepare the yogurt spread
Add the Greek yogurt to a small bowl. Mix in the lemon juice, garlic powder, and black pepper. Stir until smooth and well combined.
2. Prepare the vegetables
Wash the lettuce, tomato, cucumber, and bell pepper. Pat the vegetables dry with a clean paper towel. Slice the tomato, cucumber, and bell pepper into thin pieces so the wraps are easier to roll.
3. Prepare the tortillas
Place one whole-grain tortilla on a clean, flat surface. If the tortillas are stiff, warm them briefly according to the package directions so they become easier to fold.
4. Add the yogurt spread
Spread a thin, even layer of the Greek yogurt mixture over the center of each tortilla. Leave a little space around the edges to make rolling easier.
5. Add the turkey
Place the sliced turkey evenly over the yogurt spread. Avoid adding too much filling because an overfilled tortilla can be difficult to roll.
6. Add the vegetables
Add the lettuce, tomato, cucumber, and bell pepper over the turkey. Make sure the vegetables are well-drained so excess moisture does not make the tortilla soggy.
7. Roll the wraps
Fold the left and right sides of the tortilla toward the center. Then fold the bottom edge over the filling and roll the tortilla forward tightly until you have a neat wrap.
8. Cut and store
Cut each wrap in half if desired. Wrap them individually or place them in suitable food-storage containers. Refrigerate promptly and keep them properly chilled until ready to eat.
Serving Ideas
Serve the turkey and vegetable wraps with a small side salad, sliced fruit, or a light vegetable soup.
For drinks, you can serve:
- Lemon water
- Unsweetened iced tea
- Cucumber-mint water
- Sparkling water with lemon
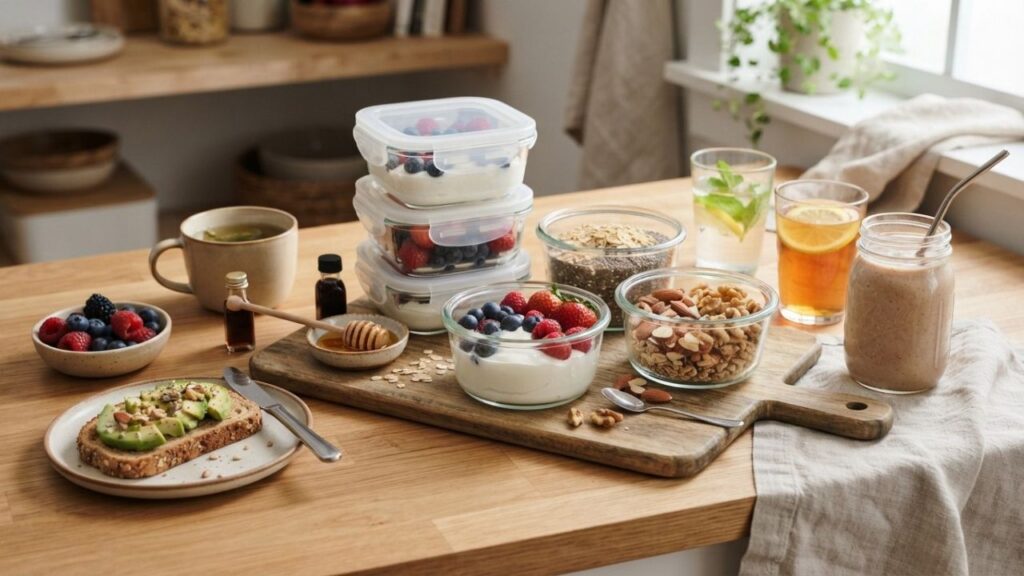
Meal 3. Greek Yogurt Berry Breakfast Bowls
Greek yogurt berry breakfast bowls are a quick and convenient option for busy mornings. Creamy Greek yogurt is combined with juicy berries, rolled oats, chia seeds, and crunchy nuts for a simple breakfast that can be prepared ahead of time.
Ingredients
- 2 cups plain Greek yogurt
- 1 cup mixed fresh berries
- 1/2 cup rolled oats
- 1/4 cup chopped almonds or walnuts
- 1 tablespoon chia seeds
- 1 teaspoon honey, optional
- 1/2 teaspoon vanilla extract, optional
Step-by-Step Instructions
1. Prepare the berries
Wash the berries gently under cool running water and drain them well. If using strawberries, remove the stems and slice them into smaller pieces.
2. Prepare the yogurt mixture
Add the Greek yogurt to a bowl. If desired, stir in the vanilla extract and honey. Mix until the yogurt is smooth and evenly flavored.
3. Prepare the containers
Place four clean food-storage containers on your work surface. Divide the Greek yogurt evenly between the containers.
4. Add the oats
Sprinkle the rolled oats evenly over the Greek yogurt. Make sure each container receives a similar amount.
5. Add the chia seeds
Sprinkle the chia seeds over the oats. They add texture and can soften slightly as the bowls sit in the refrigerator.
6. Add the berries
Place the prepared berries on top of each yogurt portion. Spread them evenly so every serving has a good mixture of ingredients.
7. Add the nuts
Sprinkle the chopped almonds or walnuts over the berries. For a crunchier texture, you can keep the nuts in a separate small container and add them just before eating.
8. Cover and refrigerate
Close the containers with their lids and refrigerate promptly. Keep them properly chilled until you are ready to eat them.
Serving Ideas
Serve the Greek yogurt berry bowls as a quick breakfast with a piece of whole-grain toast or a small serving of additional fresh fruit.
For drinks, you can serve:
- Warm green tea
- Fresh lemon water
- Unsweetened iced tea
- Banana or berry smoothie
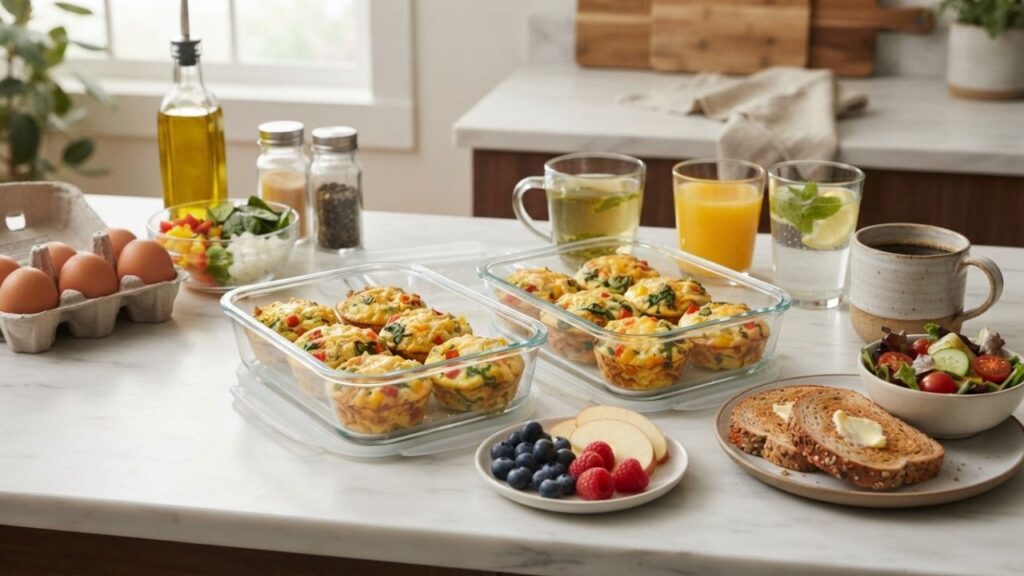
Meal 4. Vegetable and Egg Breakfast Muffins
Vegetable and egg breakfast muffins are a simple make-ahead breakfast for busy mornings. Eggs are combined with colorful vegetables and shredded cheese, then baked in individual portions. They are easy to prepare in batches and can be served with fruit, toast, or a light breakfast drink.
Ingredients
- 6 large eggs
- 1/2 cup bell pepper, finely diced
- 1/2 cup fresh spinach, chopped
- 1/4 cup onion, finely diced
- 1/4 cup shredded cheese
- 1 tablespoon olive oil
- 1/4 teaspoon garlic powder
- 1/4 teaspoon black pepper
- 1/4 teaspoon salt
Step-by-Step Instructions
1. Preheat the oven
Preheat your oven to 375°F (190°C). Lightly grease a 6-cup muffin pan with olive oil or use suitable muffin liners.
2. Prepare the vegetables
Wash the bell pepper and spinach thoroughly. Dice the bell pepper into small pieces and chop the spinach. Finely dice the onion so the vegetables cook evenly inside the muffins.
3. Prepare the egg mixture
Crack the eggs into a medium-sized mixing bowl. Add the salt, black pepper, and garlic powder. Whisk until the eggs are well combined.
4. Add the vegetables and cheese
Add the diced bell pepper, chopped spinach, onion, and shredded cheese to the beaten eggs. Stir gently until the ingredients are evenly distributed.
5. Fill the muffin cups
Carefully divide the egg mixture between the prepared muffin cups. Fill each cup about three-quarters full to leave room for the eggs to rise as they bake.
6. Bake the muffins
Place the muffin pan in the preheated oven. Bake until the eggs are fully set in the center and the tops look firm. Insert a toothpick into the center of one muffin to check that the egg mixture is no longer wet.
7. Cool the muffins
Remove the pan from the oven and let the muffins cool for a few minutes. Carefully remove them from the pan and place them on a clean plate or cooling surface.
8. Store for meal prep
Once cooled appropriately, place the muffins in clean, covered food-storage containers. Refrigerate promptly and keep them properly chilled until ready to eat.
Serving Ideas
Serve 2–3 egg muffins with fresh berries, sliced apple, whole-grain toast, or a small side salad.
For drinks, you can serve:
- Green tea
- Fresh orange juice
- Lemon water
- Unsweetened coffee
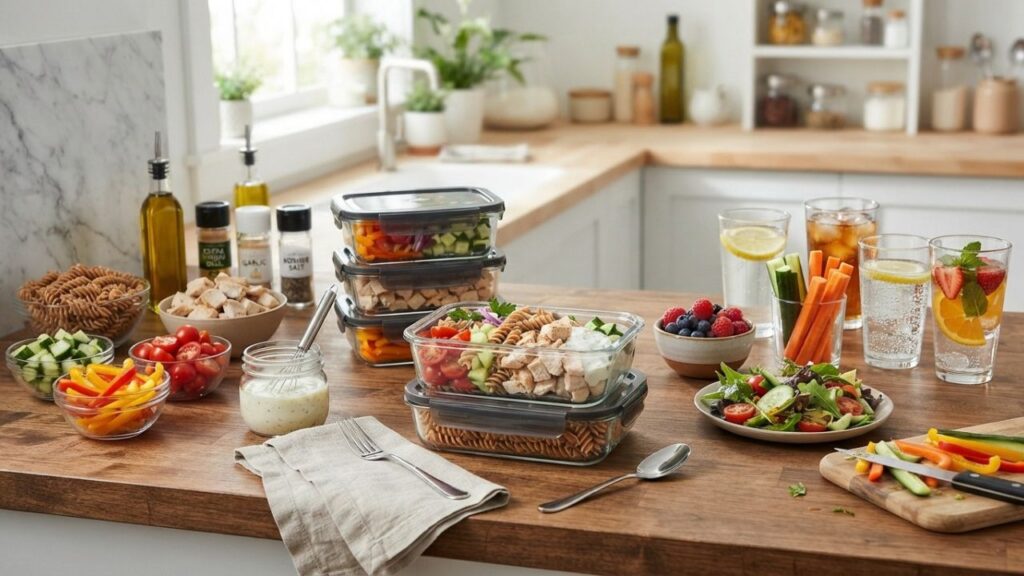
Meal 5. Chicken Pasta Salad
Chicken pasta salad is a convenient meal-prep option that combines tender chicken, whole-wheat pasta, and fresh vegetables with a creamy lemon dressing. It can be prepared in advance and divided into individual portions for easy weekday lunches.
Ingredients
- 2 cups cooked whole-wheat pasta
- 8 oz cooked chicken breast, chopped
- 1/2 cup cherry tomatoes, halved
- 1/2 cucumber, diced
- 1/4 cup bell pepper, thinly sliced
- 2 tablespoons plain Greek yogurt
- 1 tablespoon fresh lemon juice
- 1 teaspoon olive oil
- 1/4 teaspoon garlic powder
- 1/4 teaspoon black pepper
- 1/4 teaspoon salt
Step-by-Step Instructions
1. Cook the pasta
Bring a pot of water to a boil and cook the whole-wheat pasta according to the package directions. Once tender, drain the pasta thoroughly and allow it to cool.
2. Prepare the chicken
If using raw chicken, cook it thoroughly using a skillet, oven, or another suitable cooking method. Allow the cooked chicken to cool slightly, then cut it into small bite-sized pieces.
3. Prepare the vegetables
Wash the cherry tomatoes, cucumber, and bell pepper. Cut the tomatoes in half, dice the cucumber, and slice the bell pepper into thin strips.
4. Make the dressing
Add Greek yogurt, lemon juice, olive oil, garlic powder, salt, and black pepper to a small bowl. Stir until the mixture becomes smooth and creamy.
5. Combine the main ingredients
Place the cooled pasta, chopped chicken, tomatoes, cucumber, and bell pepper into a large mixing bowl.
6. Add the dressing
Pour the prepared yogurt dressing over the pasta and chicken mixture. Use a large spoon to gently combine everything.
7. Mix carefully
Toss the ingredients until the dressing is distributed evenly. Avoid stirring too aggressively because the vegetables and pasta can become mushy.
8. Portion the salad
Divide the chicken pasta salad evenly between clean food-storage containers. Cover the containers and refrigerate promptly.
Serving Ideas
Serve the chicken pasta salad with fresh fruit, a small green salad, or extra crunchy vegetables such as cucumber and carrots.
For drinks, you can serve:
- Lemon water
- Unsweetened iced tea
- Sparkling water with lemon
- Fresh fruit-infused water
Meal 6. Turkey and Quinoa Bowls
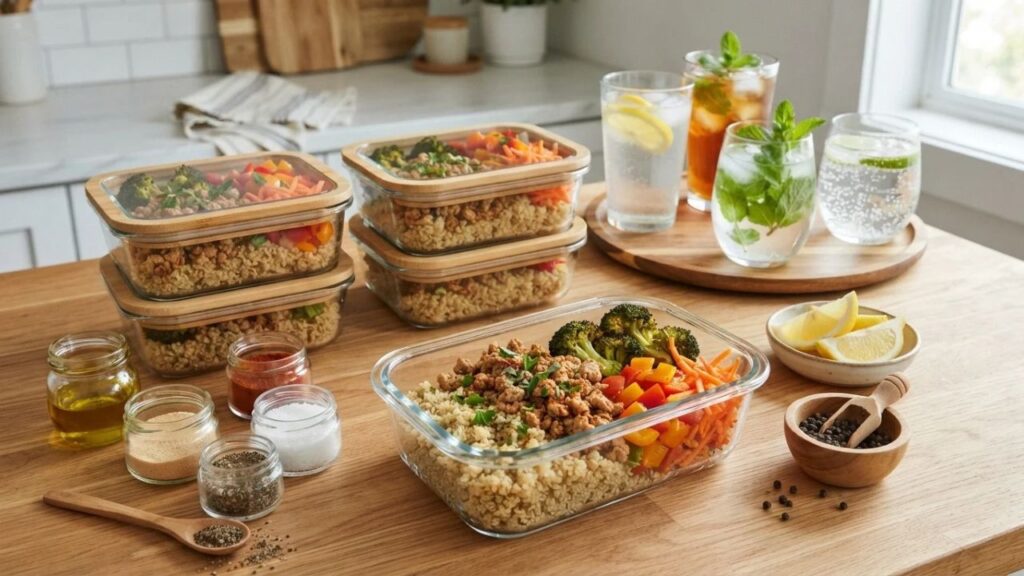
Turkey and quinoa bowls are a practical meal-prep option made with seasoned ground turkey, fluffy quinoa, and colorful vegetables. Preparing the ingredients in batches makes it easy to portion several lunches or dinners for the week.
Ingredients
- 1 lb ground turkey
- 2 cups cooked quinoa
- 1 cup broccoli florets
- 1/2 cup bell pepper, diced
- 1/2 cup carrots, shredded
- 1 tablespoon olive oil
- 1 teaspoon garlic powder
- 1/2 teaspoon paprika
- 1/2 teaspoon salt
- 1/4 teaspoon black pepper
Step-by-Step Instructions
1. Prepare the vegetables
Wash the broccoli and bell pepper. Cut the broccoli into small florets and dice the bell pepper into bite-sized pieces. If using whole carrots, wash, peel, and grate them.
2. Cook the turkey
Heat olive oil in a large skillet over medium heat. Add the ground turkey and break it into smaller pieces using a wooden spoon or spatula.
3. Season the turkey
Add garlic powder, paprika, salt, and black pepper. Stir the turkey so the seasonings are distributed evenly.
4. Cook the turkey thoroughly
Continue cooking and stirring until the turkey is fully cooked and no longer pink. Make sure it reaches a safe internal temperature before removing it from the heat.
5. Cook the vegetables
Steam or sauté the broccoli and bell pepper until tender but still slightly crisp. Add the shredded carrots near the end so they retain some texture.
6. Prepare the quinoa
Cook the quinoa according to the package directions. Once cooked, fluff it gently with a fork and allow it to cool slightly.
7. Assemble the bowls
Divide the cooked quinoa evenly between meal-prep containers. Add the cooked turkey, broccoli, bell pepper, and carrots to each container.
8. Cool and store
Allow the prepared portions to cool appropriately before covering the containers. Refrigerate promptly and keep them properly chilled until ready to serve.
Serving Ideas
Serve the turkey and quinoa bowls with a squeeze of fresh lemon or a small amount of Greek yogurt sauce.
For drinks, you can serve:
- Lemon water
- Unsweetened iced tea
- Mint water
- Sparkling water with lime
Meal 7. Lentil and Vegetable Soup
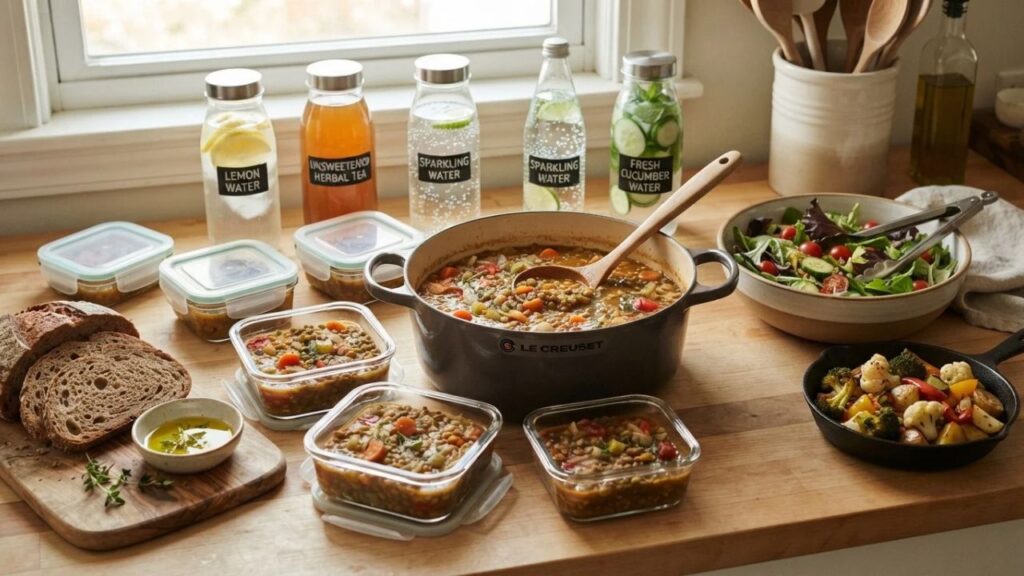
Lentil and vegetable soup is a comforting make-ahead meal packed with lentils and colorful vegetables. It is especially useful for meal prep because a large pot can provide several portions for weekday lunches or dinners.
Ingredients
- 1 cup dried lentils, rinsed
- 1 medium carrot, diced
- 1 celery stalk, diced
- 1 small onion, chopped
- 2 garlic cloves, minced
- 4 cups low-sodium vegetable broth
- 1 cup diced tomatoes
- 1 teaspoon dried oregano
- 1 tablespoon olive oil
- 1/2 teaspoon paprika
- 1/2 teaspoon salt
- 1/4 teaspoon black pepper
Step-by-Step Instructions
1. Rinse the lentils
Place the dried lentils in a fine-mesh strainer and rinse them thoroughly under cool running water. Check for and remove any unwanted pieces.
2. Prepare the vegetables
Wash the carrot, celery, and onion. Peel the carrot and onion, then dice all three vegetables into small, evenly sized pieces. Mince the garlic.
3. Sauté the vegetables
Heat the olive oil in a large pot over medium heat. Add the onion, carrot, and celery. Cook for several minutes, stirring occasionally, until the vegetables begin to soften.
4. Add the garlic
Add the minced garlic and cook briefly while stirring. Avoid cooking it for too long because garlic can burn quickly.
5. Add the main ingredients
Add the rinsed lentils, diced tomatoes, vegetable broth, oregano, paprika, salt, and black pepper to the pot. Stir everything together.
6. Bring the soup to a boil
Increase the heat and bring the mixture to a gentle boil. Once it begins boiling, reduce the heat to maintain a steady simmer.
7. Cook until tender
Cover the pot partially and simmer until the lentils and vegetables are tender. Stir occasionally and check the consistency during cooking. Add a little more broth if needed.
8. Taste and adjust
Once the lentils are tender, taste the soup. Adjust the seasoning if necessary and remove the pot from the heat.
9. Portion the soup
Allow the soup to cool appropriately before transferring it into clean, suitable storage containers. Leave enough space if you plan to freeze portions.
10. Refrigerate or freeze
Cover the containers and refrigerate promptly if you plan to eat the soup soon. For longer storage, use suitable freezer-safe containers and follow proper freezing and thawing practices.
Serving Ideas
Serve the lentil soup with whole-grain bread, a simple green salad, or roasted vegetables.
For drinks, you can serve:
- Lemon water
- Unsweetened herbal tea
- Sparkling water
- Fresh cucumber water
Meal 8. Salmon and Roasted Vegetables
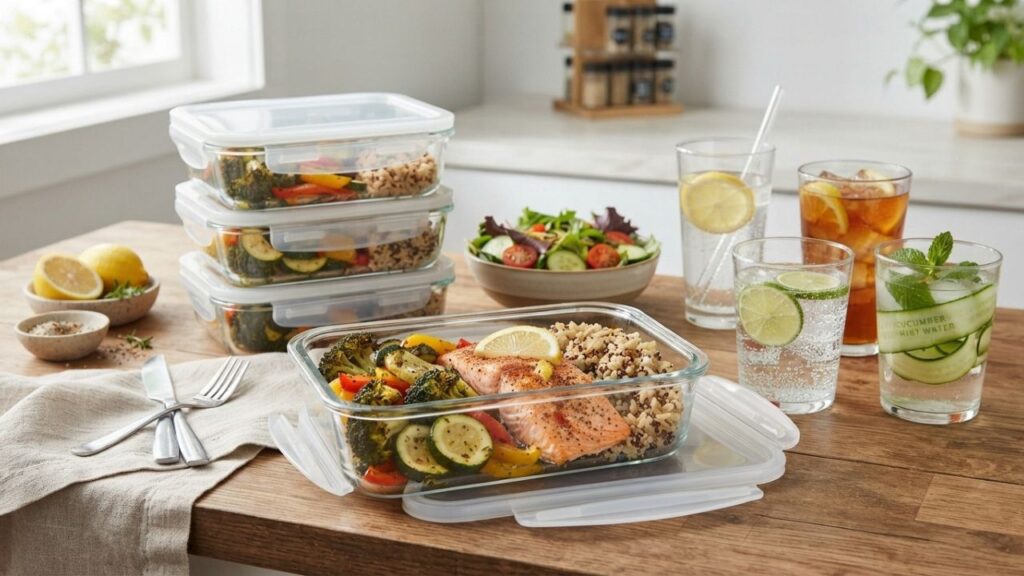
Salmon with roasted vegetables is an easy make-ahead dinner that combines flaky fish with colorful vegetables. Preparing several portions at once can simplify weekday dinners.
Ingredients
- 4 salmon fillets
- 2 cups broccoli florets
- 1 zucchini, sliced
- 1 bell pepper, sliced
- 1 tablespoon olive oil
- 1 teaspoon garlic powder
- 1/2 teaspoon paprika
- Lemon wedges
- Black pepper, to taste
Step-by-Step Instructions
1. Preheat the oven
Preheat your oven to 400°F (200°C). Line a baking sheet with parchment paper or lightly grease it with olive oil.
2. Prepare the salmon and vegetables
Place the salmon fillets on one side of the baking sheet. Arrange the broccoli, zucchini, and bell pepper around the salmon in a single layer.
3. Add the seasoning
Drizzle olive oil over the salmon and vegetables. Sprinkle with garlic powder, paprika, and black pepper, making sure the ingredients are evenly seasoned.
4. Bake the meal
Place the baking sheet in the preheated oven. Bake until the salmon is fully cooked and flakes easily with a fork, while the vegetables become tender.
5. Portion the meal
Remove the baking sheet from the oven and allow the food to cool appropriately. Divide the salmon and roasted vegetables evenly between clean meal-prep containers.
7. Add lemon
Place a lemon wedge in each container or squeeze fresh lemon juice over the salmon just before serving.
Serving Ideas
Serve the salmon and roasted vegetables with brown rice, quinoa, or a fresh green salad.
Drinks that pair well:
- Lemon water
- Unsweetened iced tea
- Sparkling water with lime
- Cucumber-mint water
Meal 9. Chickpea and Cucumber Salad
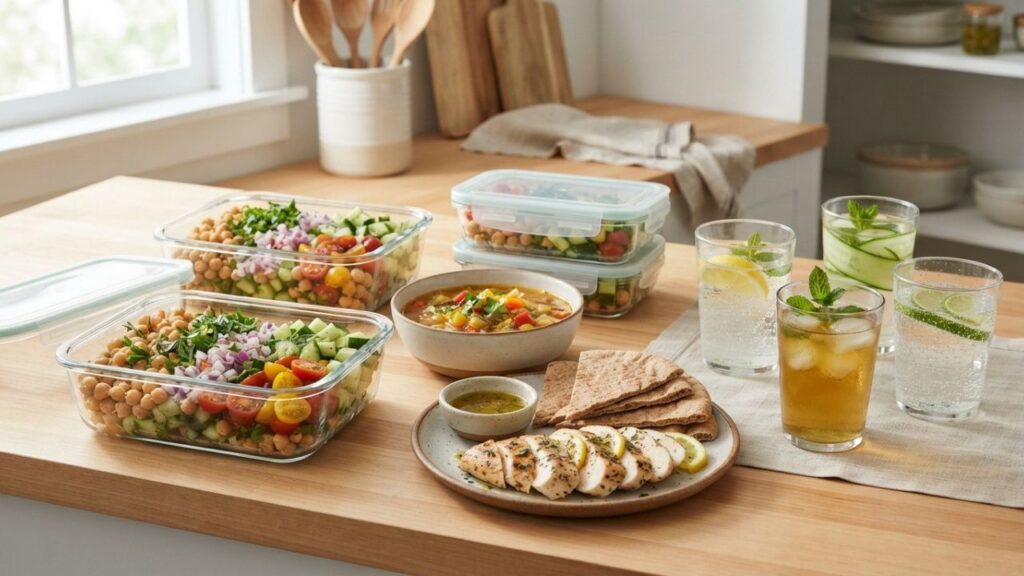
Chickpea and cucumber salad is a fresh and colorful meal-prep recipe that is perfect for lunch or a light dinner. Protein-rich chickpeas are combined with crisp cucumber, juicy tomatoes, and a simple lemon dressing for a refreshing meal that is easy to prepare ahead of time.
Ingredients
- 2 cups cooked chickpeas, drained
- 1 cucumber, diced
- 1 cup cherry tomatoes, halved
- 1/4 small red onion, finely chopped
- 2 tablespoons fresh parsley, chopped
- 1 tablespoon olive oil
- 1 tablespoon fresh lemon juice
- 1/2 teaspoon garlic powder
- 1/4 teaspoon salt
- 1/4 teaspoon black pepper
Step-by-Step Instructions
1. Prepare the chickpeas
If using canned chickpeas, drain them in a colander and rinse thoroughly under cool running water. Let them drain well so excess water does not make the salad watery.
2. Wash and chop the vegetables
Wash the cucumber, cherry tomatoes, parsley, and red onion. Dice the cucumber into bite-sized pieces, halve the tomatoes, finely chop the onion, and roughly chop the parsley.
3. Make the dressing
Add olive oil, lemon juice, garlic powder, salt, and black pepper to a small bowl. Whisk the ingredients together until the dressing is smooth and evenly combined.
4. Combine the salad ingredients
Place the chickpeas, cucumber, tomatoes, red onion, and parsley in a large mixing bowl. Pour the prepared dressing over the ingredients.
5. Toss the salad
Use a large spoon to gently mix everything together until the dressing coats the ingredients evenly. Stir carefully to keep the chickpeas intact.
6. Portion the salad
Divide the salad evenly among clean meal-prep containers. For better texture, you can keep the dressing separate and add it just before serving.
7. Refrigerate
Cover the containers securely and refrigerate promptly. Keep the salad properly chilled until you are ready to serve it.
Serving Ideas
Serve the chickpea and cucumber salad with whole-grain pita bread, grilled chicken, or a bowl of vegetable soup for a more filling meal.
Drinks that pair well with this salad:
- Fresh lemon water
- Cucumber and mint infused water
- Unsweetened iced green tea
- Sparkling water with lime
Meal 10. Chicken and Sweet Potato Bowls
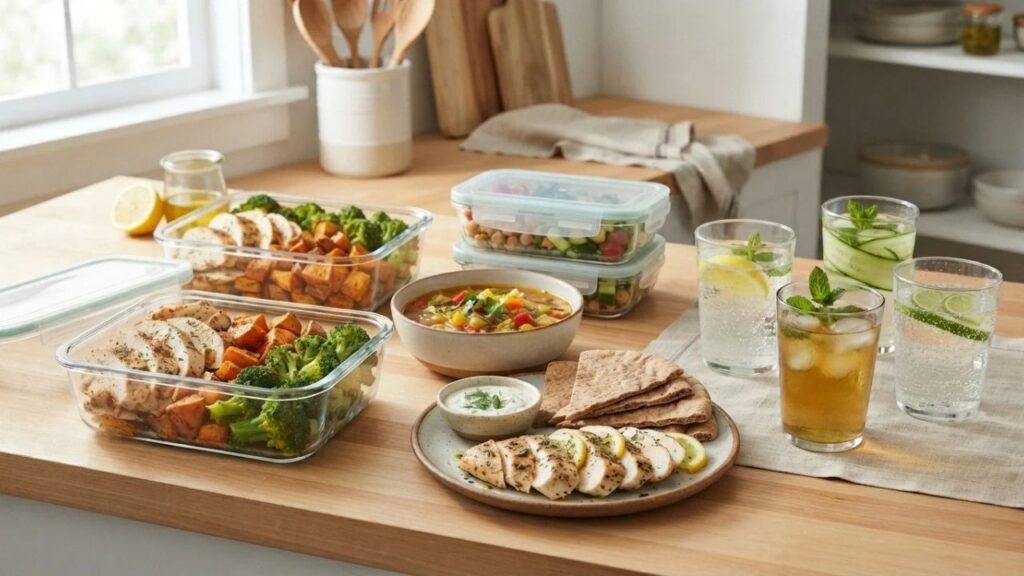
Chicken and sweet potato bowls are a hearty and colorful meal-prep option for lunch or dinner. Tender seasoned chicken is paired with roasted sweet potatoes and broccoli, creating a simple combination that can be prepared in several portions for the week.
Ingredients
- 1 lb boneless, skinless chicken breast
- 2 medium sweet potatoes
- 1 cup broccoli florets
- 1 tablespoon olive oil
- 1 teaspoon paprika
- 1 teaspoon garlic powder
- 1/2 teaspoon salt
- 1/4 teaspoon black pepper
- 1/2 teaspoon dried oregano
- 1 tablespoon fresh lemon juice, optional
Step-by-Step Instructions
1. Preheat the oven
Preheat your oven to 425°F (220°C). Line a baking sheet with parchment paper or lightly grease it with a small amount of olive oil.
2. Prepare the sweet potatoes
Wash and peel the sweet potatoes. Cut them into small, evenly sized cubes so they cook at the same rate.
3. Season the sweet potatoes
Place the sweet potato cubes in a bowl. Add about half of the olive oil, paprika, garlic powder, oregano, and a little black pepper. Toss until the pieces are evenly coated.
4. Roast the sweet potatoes
Spread the seasoned sweet potatoes in a single layer on the prepared baking sheet. Place them in the oven and roast until they are tender inside and lightly browned outside. Turn them once during cooking for more even browning.
5. Prepare the chicken
While the sweet potatoes are roasting, pat the chicken breast dry and season it with the remaining paprika, garlic powder, salt, oregano, and black pepper.
6. Cook the chicken
Heat the remaining olive oil in a skillet over medium heat. Add the chicken and cook until it is fully cooked through. If using thicker chicken breasts, cover the skillet briefly to help them cook evenly.
7. Check the chicken
Use a food thermometer to check that the thickest part of the chicken reaches 165°F (74°C). Remove the chicken from the heat and let it rest for a few minutes before slicing.
8. Prepare the broccoli
Steam the broccoli until it is bright green and tender but still slightly crisp. You can also roast it alongside the sweet potatoes during the final part of cooking.
9. Slice the chicken
Once the chicken has rested, slice it into strips or bite-sized pieces. Cutting it evenly makes the meal easier to portion.
10. Assemble the bowls
Divide the roasted sweet potatoes between clean meal-prep containers. Add the sliced chicken and cooked broccoli to each container.
11. Cool and store
Allow the prepared portions to cool appropriately before covering them. Refrigerate promptly and keep them properly chilled until ready to eat.
Serving Ideas
Serve the chicken and sweet potato bowls with a simple Greek yogurt sauce, fresh lemon juice, or a light herb dressing.
Drinks that pair well with this meal:
- Fresh lemon water
- Unsweetened iced tea
- Mint-infused water
- Sparkling water with lime
Meal 11. Beef and Vegetable Stir-Fry
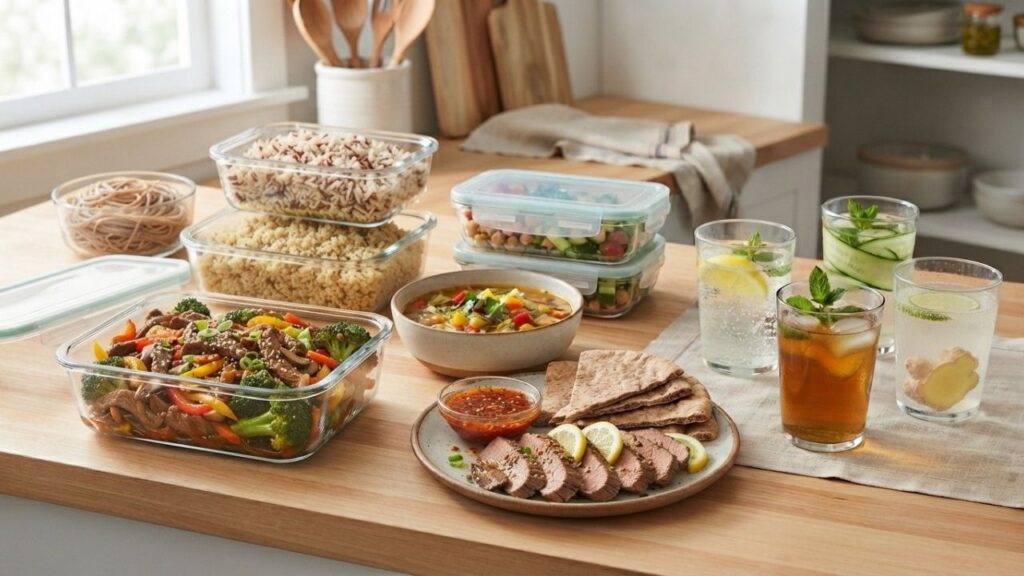
Beef and vegetable stir-fry is a flavorful and practical meal-prep option that can be cooked in one skillet. Thinly sliced beef is combined with broccoli, bell pepper, carrots, and mushrooms in a savory sauce. It can be served with rice or quinoa for a filling weekday meal.
Ingredients
- 1 lb lean beef, thinly sliced
- 1 cup broccoli florets
- 1 medium bell pepper, sliced
- 1 medium carrot, thinly sliced
- 1/2 cup mushrooms, sliced
- 1 tablespoon olive oil
- 2 tablespoons low-sodium soy sauce
- 1 teaspoon fresh minced garlic
- 1 teaspoon fresh grated ginger
- 1/2 teaspoon black pepper
- 1 teaspoon sesame oil, optional
Step-by-Step Instructions
1. Prepare the beef
Pat the beef dry with paper towels. Slice it into thin, even strips across the grain. Thin slices will cook quickly and make the beef easier to eat.
2. Prepare the vegetables
Wash the broccoli, bell pepper, carrot, and mushrooms. Cut the broccoli into small florets, slice the bell pepper into strips, cut the carrot into thin pieces, and slice the mushrooms.
3. Prepare the sauce
In a small bowl, combine the low-sodium soy sauce, minced garlic, grated ginger, and black pepper. Stir everything together and set the mixture aside.
4. Heat the skillet
Place a large skillet or wok over medium-high heat. Add the olive oil and allow it to heat for a short time.
5. Cook the beef
Add the sliced beef to the hot skillet in a single layer. Cook while stirring occasionally until the beef is browned and fully cooked.
6. Remove the beef
Transfer the cooked beef to a clean plate and set it aside. This prevents the beef from becoming overcooked while the vegetables are prepared.
7. Cook the vegetables
Add the broccoli, bell pepper, carrot, and mushrooms to the same skillet. Stir-fry the vegetables until they become tender but still retain some crunch.
8. Add the sauce
Pour the prepared soy sauce mixture over the vegetables. Stir continuously for a minute or two so the sauce coats the vegetables evenly.
9. Combine the beef and vegetables
Return the cooked beef to the skillet. Toss everything together until the beef and vegetables are evenly coated with the sauce. Add sesame oil at this stage if desired.
10. Assemble the meal-prep portions
Divide the stir-fry evenly between clean meal-prep containers. If serving with rice or quinoa, place the cooked grain into each container before adding the beef and vegetables.
11. Cool and store
Allow the portions to cool appropriately before covering them. Refrigerate promptly and keep them properly chilled until ready to serve.
Serving Ideas
Serve the beef and vegetable stir-fry with brown rice, white rice, quinoa, or whole-grain noodles. A sprinkle of sesame seeds or chopped green onions can also add extra flavor and texture.
Drinks that pair well with this meal:
- Unsweetened green tea
- Lemon water
- Sparkling water with lime
- Ginger-infused water
Meal 12. Tuna and Whole-Grain Pasta Salad
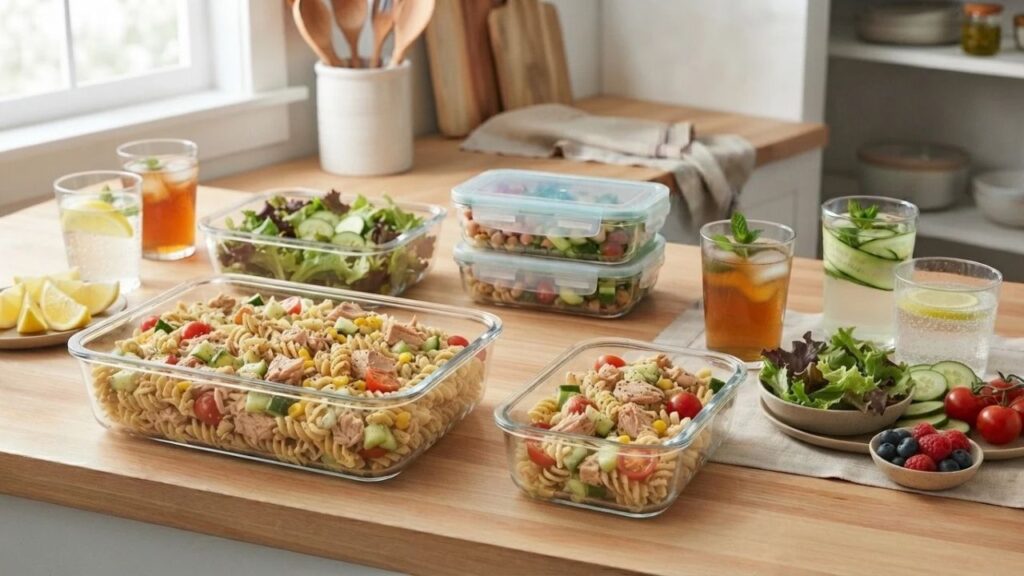
Tuna and whole-grain pasta salad is a simple make-ahead lunch that combines tender pasta, tuna, crisp vegetables, and a creamy lemon dressing. It requires minimal cooking and can be divided into individual portions for convenient weekday meals.
Ingredients
- 2 cups cooked whole-grain pasta
- 2 cans tuna in water, drained
- 1/2 cucumber, diced
- 1/2 cup cherry tomatoes, halved
- 1/4 cup sweet corn
- 2 tablespoons plain Greek yogurt
- 1 tablespoon fresh lemon juice
- 1 teaspoon olive oil
- 1/4 teaspoon garlic powder
- 1/4 teaspoon black pepper
- 1/4 teaspoon salt
Step-by-Step Instructions
1. Cook the pasta
Bring a pot of water to a boil and cook the whole-grain pasta according to the package directions. Once the pasta is tender, drain it thoroughly and allow it to cool.
2. Prepare the tuna
Open the tuna cans and drain them well. Use a fork to gently break the tuna into smaller pieces, making sure there is no excess liquid.
3. Prepare the vegetables
Wash the cucumber and cherry tomatoes. Dice the cucumber into small pieces and cut the cherry tomatoes in half. Drain the sweet corn if using canned corn.
4. Make the dressing
Add the Greek yogurt, lemon juice, olive oil, garlic powder, salt, and black pepper to a small bowl. Stir until the dressing is smooth and creamy.
5. Combine the ingredients
Place the cooled pasta, tuna, cucumber, tomatoes, and sweet corn into a large mixing bowl.
6. Add the dressing
Pour the prepared dressing over the pasta and tuna mixture. Use a large spoon to gently combine the ingredients.
7. Mix carefully
Toss everything together until the dressing is evenly distributed. Avoid overmixing because the pasta and vegetables can lose their texture.
8. Portion the salad
Divide the pasta salad evenly between clean food-storage containers. Cover each container securely.
9. Refrigerate
Refrigerate the prepared portions promptly and keep them properly chilled until ready to eat.
Serving Ideas
Serve the tuna pasta salad with fresh lettuce, cucumber slices, cherry tomatoes, or a small side of fruit. You can also add a little extra lemon juice just before serving.
Drinks that pair well with this meal:
- Fresh lemon water
- Unsweetened iced tea
- Cucumber-mint water
- Sparkling water with lemon
How to Store Meal Prep Safely
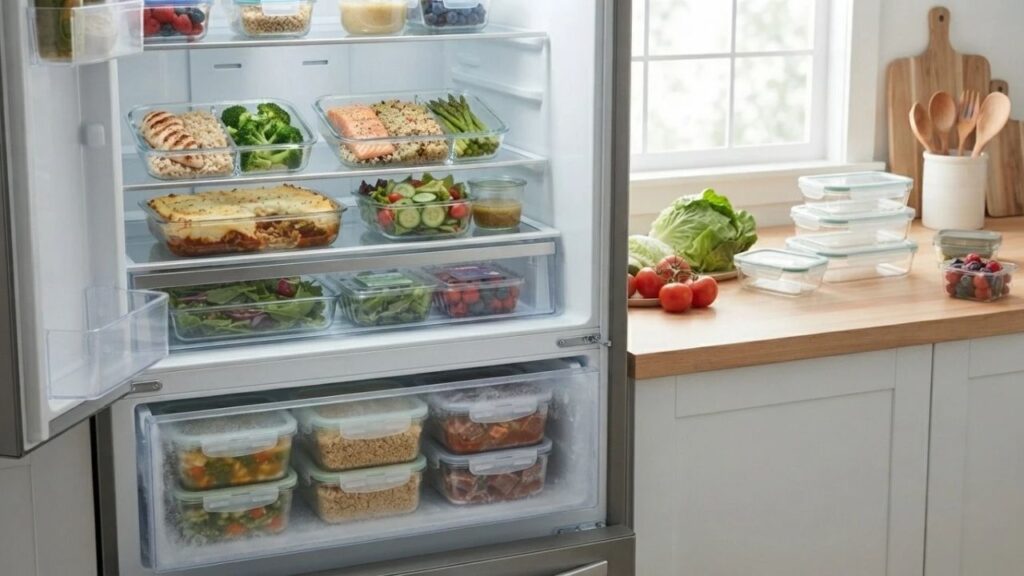
Proper storage is an important part of meal prep for the week. Use clean, food-safe containers and refrigerate prepared foods promptly. Keep perishable foods properly chilled, and when in doubt about whether a food has been stored safely, it is better not to eat it.
Meal Prep Containers
Choose clean, airtight containers that are suitable for refrigerated food. Divided containers can be useful when you want to keep different components separated.
Refrigerate Meals
Allow hot food to cool appropriately before placing it into the refrigerator, and avoid leaving perishable foods at room temperature for extended periods. Labeling containers with preparation dates can also help you keep track of what should be eaten first.
Freezer Meals
Many cooked meals, including soups, cooked grains, and some cooked meat-and-vegetable dishes, can be frozen when stored properly. Fresh salads and foods with delicate textures may be better prepared closer to serving time.
How to Reheat Meal Prep Without Losing Quality
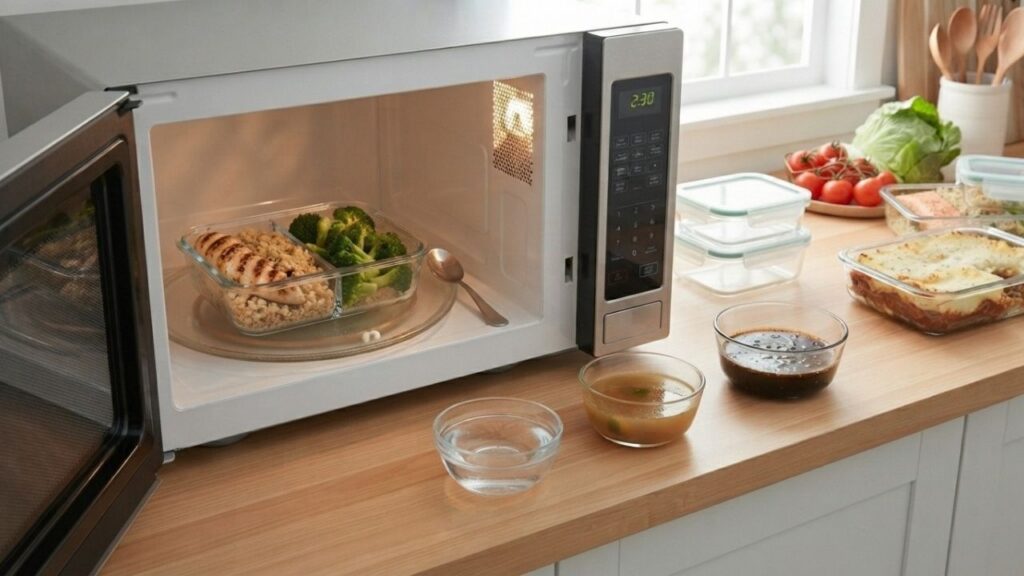
Reheating meal-prep food properly can help maintain its flavor, texture, and moisture. Different foods may need different reheating methods, so use suitable containers and avoid overheating. Stirring food during reheating and adding a little moisture when needed can help keep meals enjoyable.
Microwave Reheating
Place the meal in a microwave-safe container and heat it gradually. Stir halfway through when possible so the food warms more evenly.
Add Moisture
Rice, pasta, and lean meats can become dry during reheating. Add a small amount of water, broth, or suitable sauce before heating.
Reheat Evenly
Spread food evenly inside the container instead of leaving it in one large pile. This helps different portions warm more consistently.
Check Before Serving
Make sure the food is heated thoroughly before eating. Follow the instructions for your storage container and use only containers suitable for your chosen reheating method.
Common Meal Prep Mistakes to Avoid
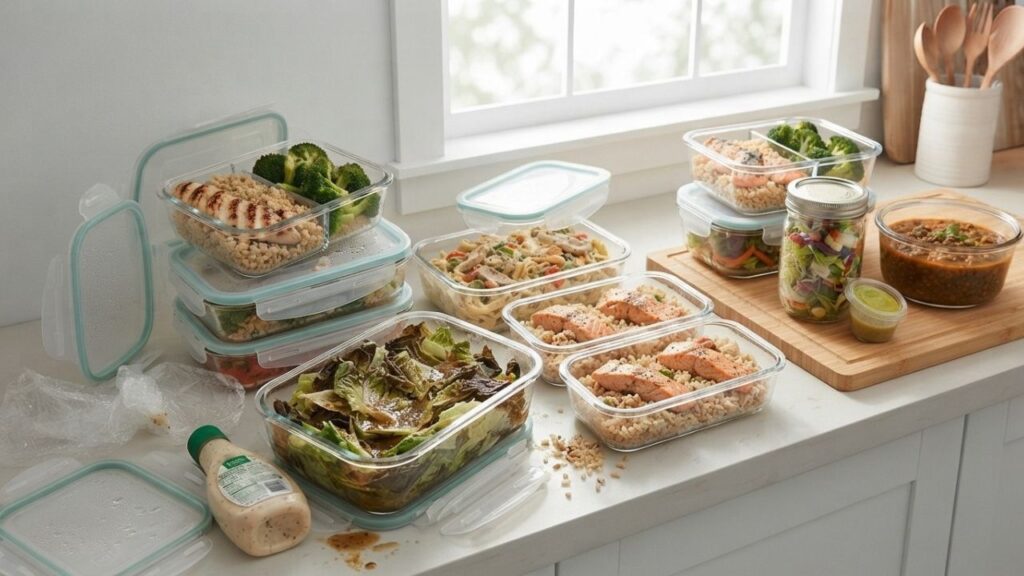
Even simple meal preparation can become difficult when you try to do too much at once. Avoid common mistakes such as preparing excessive portions, choosing foods that do not store well, using unsuitable containers, forgetting proper refrigeration, and making every meal identical. A simple, realistic plan is easier to maintain throughout the week.
- Preparing more food than you can reasonably eat.
- Choosing recipes that do not store well.
- Forgetting to refrigerate perishable foods promptly.
- Using containers that do not seal properly.
- Storing sauces with ingredients that become soggy.
- Making every meal exactly the same.
- Ignoring the texture and quality of food after storage.
FAQs
1. Can I Meal Prep Food for 7 Days?
Yes, you can prepare meals for a week, but not every food keeps the same quality for seven days. For longer storage, refrigerate some portions and freeze suitable meals. Always follow proper food-storage and safety guidance.
2. What Is the 3-3-3 Rule for Meal Prep?
The 3-3-3 rule is a simple meal-planning idea that can mean 3 meals, 3 ingredients, and 3 days, depending on the version being used. It is not a universal food-safety rule, so storage guidance should be followed separately.
3. What Is a Good Meal Prep for a Week?
A good weekly meal prep includes a mix of proteins, grains, vegetables, and easy breakfasts. Chicken bowls, soups, pasta salads, overnight oats, and roasted vegetables are practical options that can be prepared in batches.
4. Is It Healthy to Meal Prep for a Week?
Meal prepping can be part of a healthy eating routine when meals include a variety of nutritious foods. Planning ahead can also make balanced meals more convenient, especially on busy days.
5. What Day Is Best for Meal Prepping?
There is no single best day for everyone. Many people choose a day when they have enough free time to shop, cook, portion meals, and clean up. The most useful schedule is one that fits your weekly routine consistently.
Conclusion
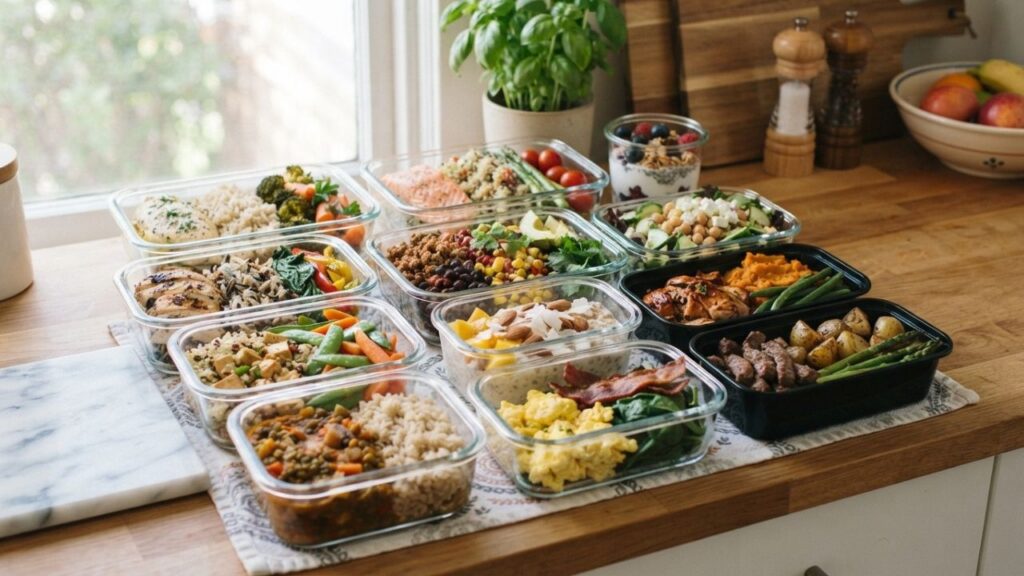
Preparing meals ahead can make busy weekdays more organized and reduce the need to cook from scratch every day. These 12 easy healthy meal prep for the week recipes provide a variety of breakfasts, lunches, dinners, salads, and bowls that can be adapted to different preferences.
Start with a few recipes rather than preparing everything at once. As you become more comfortable with your routine, you can mix and match ingredients, experiment with new flavors, and create a weekly meal-prep system that works for you.
About the Author
Written by Emlia James
Emlia James is a food and recipe writer who enjoys creating simple, practical meal ideas for busy home cooks. She focuses on easy recipes, helpful cooking instructions, and realistic meal-prep tips that readers can use in their everyday routines.